How to Paint Aircraft Aluminum: Tips and Techniques
Share
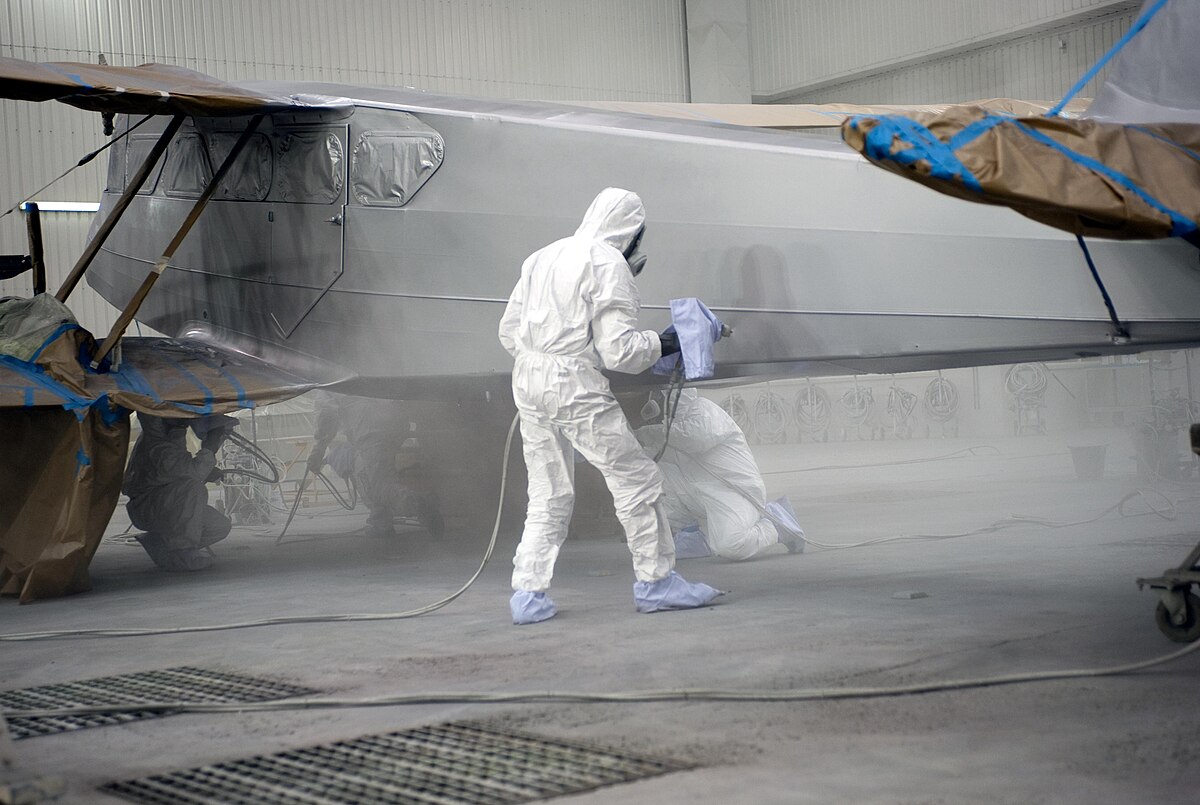
Painting aircraft aluminum is a specialized skill that is often required for maintenance and aesthetic purposes. Aircraft aluminum requires careful preparation and the right materials to ensure a durable and long-lasting finish. In this article, we will delve into the essential steps and considerations for painting aircraft aluminum, ensuring you know exactly how to paint aircraft aluminum effectively. Whether you are a tech professional or a tech enthusiast, understanding the intricacies of this process will benefit your projects significantly.
Understanding the nature of aluminum and the specific requirements for painting it is vital. Technically, aluminum is lightweight, yet robust, making it a preferred choice for aircraft construction. However, this also means it demands careful handling during the painting process to avoid damage and maintain its integrity. Lets explore the critical steps involved in painting aircraft aluminum.

Preparation: The Key to Success
Before you even think about picking up a brush or spray gun, preparation is crucial. This phase involves cleaning, sanding, and priming the aluminum surface.
Cleaning the Surface
The first step in painting aircraft aluminum is to ensure the surface is adequately cleaned. Use a mild detergent mixed with warm water to remove grease, dirt, and any contaminants. For stubborn stains, a solvent like acetone may be required. Be thorough; failure to remove contaminants could lead to poor adhesion of the paint.
Sanding the Aluminum
Once the surface is clean, sanding is the next step. Use fine-grit sandpaper (around 320-grit) to lightly scuff the surface. This helps create a texture for the primer to adhere to, ensuring that you achieve a smooth finish. Always sand in the direction of the metal grain to avoid scratching.
Priming the Surface
After sanding, apply a suitable primer specifically designed for aluminum surfaces. The primer plays a significant role in enhancing the paint's adhesion and providing additional protection against corrosion. Use a spray can or spray gun for an even application, and allow it to dry as per the manufacturer's instructions.
Selecting the Right Paint
The choice of paint is just as significant as the preparation work. When it comes to painting aircraft aluminum, not all paints are created equal. Its essential to choose paint that is specifically formulated for aircraft use. Here are some factors to consider:
Types of Paint
Acrylic urethane paints are popular in the aviation industry because of their durability and resistance to UV light. Paints like these not only provide a high-gloss finish but are also available in a wide range of colors.
Environmentally Friendly Options
Consider using low VOC (Volatile Organic Compounds) paints to reduce environmental impact. These paints are specifically designed to meet strict air quality regulations while still providing robust performance.
Application Techniques
Once you've prepared the surface and chosen the appropriate paint, it's time to apply it. Proper application techniques can make or break the final appearance of your project.
Using a Spray Gun vs. Brush
While both methods are viable, a spray gun generally offers a smoother and more even finish. Make sure to practice your technique beforehand, especially if youve never used a spray gun. For touch-ups or specific areas, a high-quality brush may work better.
Layering the Paint
When applying the paint, its best to use several thin layers rather than one thick coat. This approach minimizes runs and drips, allowing each layer to dry completely before applying the next. Generally, two to three coats are recommended for optimal coverage.
Post-Painting Care
After painting, make sure to allow adequate drying time. The drying process can vary based on paint type and environmental conditions, but typically you should wait at least 24 hours before handling the aircraft.
Clearing the Surface
Once the paint is dry, you may want to apply a clear coat for additional protection and shine. Clear coats can offer extra resistance to scratches and UV light, vastly extending the lifespan of your paint job.
Common Mistakes to Avoid
Even experienced painters can make mistakes. Here are some common missteps to avoid when painting aircraft aluminum:
- Inadequate cleaning of the surface.
- Skipping the priming step.
- Applying paint too thickly.
- Failing to allow proper drying time.
Seek Expert Guidance for Complex Projects
If your painting project is particularly complex or involves larger aircraft, its worth consulting or hiring professionals in the field. Organizations such as [Simple Flying](https://simpleflying.com/how-aircraft-are-painted/) provide invaluable insights and resources on aircraft painting best practices.

Frequently Asked Questions
1. What kind of primer should I use?
It's best to use a primer specifically formulated for aluminum. Look for ones that offer corrosion resistance and good adhesion qualities.
2. Can I paint over existing paint?
Yes, but ensure the old paint is in good condition. Sand it lightly to promote adhesion for the new paint.
3. How do I ensure even paint coverage?
Use multiple thin coats instead of a single thick layer. This technique helps achieve a uniform finish and minimizes runs.
