How to Paint an Aircraft: A Step-by-Step Guide for Enthusiasts?
Share
Painting an aircraft is both an art and a science, requiring meticulous preparation, precision application, and specific paints that cater to the aviation industry. For tech professionals and aviation enthusiasts alike, understanding how to paint an aircraft can open doors to a world of creativity and hands-on engagement with these magnificent machines.
The process of painting an aircraft is much different from painting cars or motorcycles. The requirements in the aerospace industry are strict, necessitating special paints that withstand extreme conditions and meet safety regulations. In this article, we will walk you through a detailed process on how to paint an aircraft, ensuring you gain knowledge that can be applied practically.

Understanding the Basics of Aircraft Painting
Before diving into the actual process, its important to grasp the fundamentals of aircraft painting. Aircraft paint serves several purposes:
- Protection: It shields the aircraft from UV rays, chemicals, and corrosion.
- Weight Reduction: Specialized paints are lightweight, ensuring they don't adversely affect performance.
- Aesthetics: A well-painted aircraft boosts its appearance and can result in promotional advantages for airline brands.
Components of Aircraft Paint
When considering how to paint an aircraft, its vital to understand the components involved:
- Primer: This layer provides a bond between the surface and the paint, often enhancing corrosion resistance.
- Base Coat: This is the primary color, providing the desired finish.
- Clear Coat: This layer adds gloss and protection against scratches and environmental pollutants.
Preparing the Aircraft for Painting
The preparation phase is crucial to achieving a flawless paint job. Below are key steps for readying the aircraft:
1. Inspection
Carefully inspect the aircraft for any signs of damage, wear, or corrosion. This ensures that only the parts requiring paint are addressed, saving time and materials.
2. Surface Cleaning
The surfaces must be meticulously cleaned to remove dirt, grease, and old paint. Use solvent-based cleaners as they are more effective at breaking down oils and residues.
3. Sanding
Sanding provides a textured surface for better adherence of the new paint. Make sure to use the appropriate grit paper to avoid damaging the underlying materials.
Selecting the Right Paint
When asking how to paint an aircraft, the choice of paint cannot be overemphasized. Here are a few commonly used types:
- Acrylic Paints: Known for their quick drying times and glossy finish.
- Polyurethane: Offers excellent durability and UV resistance, making it ideal for aircraft.
- Epoxy Coatings: Provides superior adhesion and chemical resistance, often used as a primer or for heavy-duty environments.
For a thorough understanding of the various paint options available to aircraft, you can learn more at Sherwin-Williams Aerospace.
Application Techniques
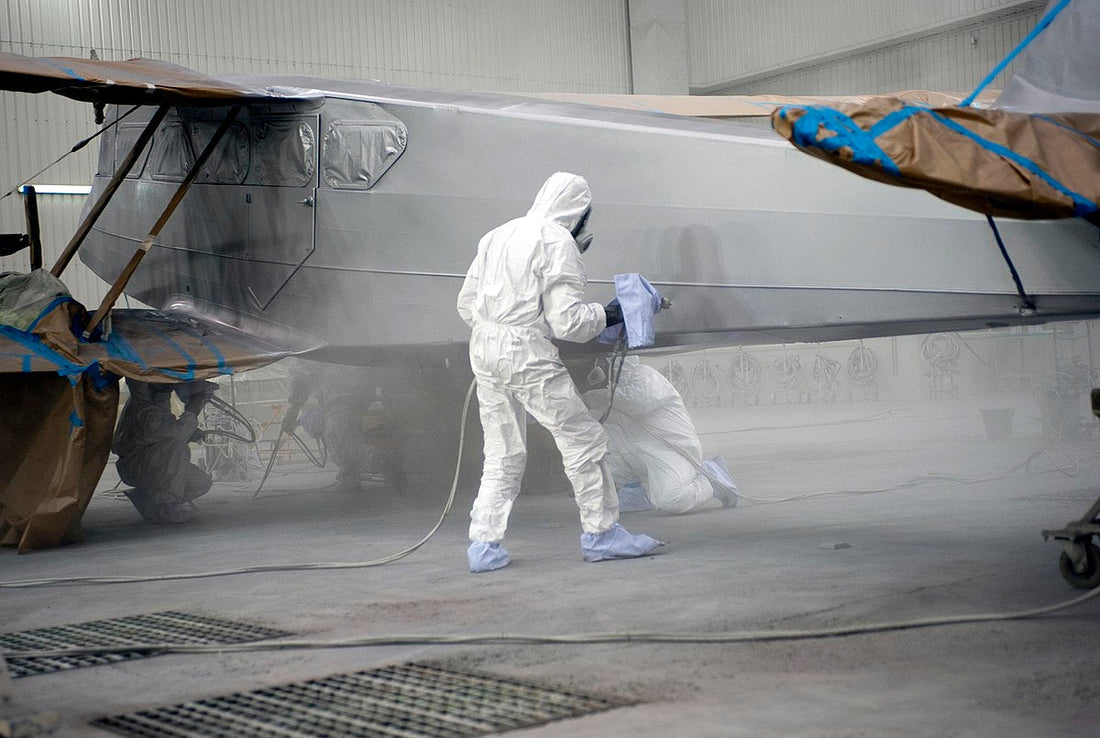
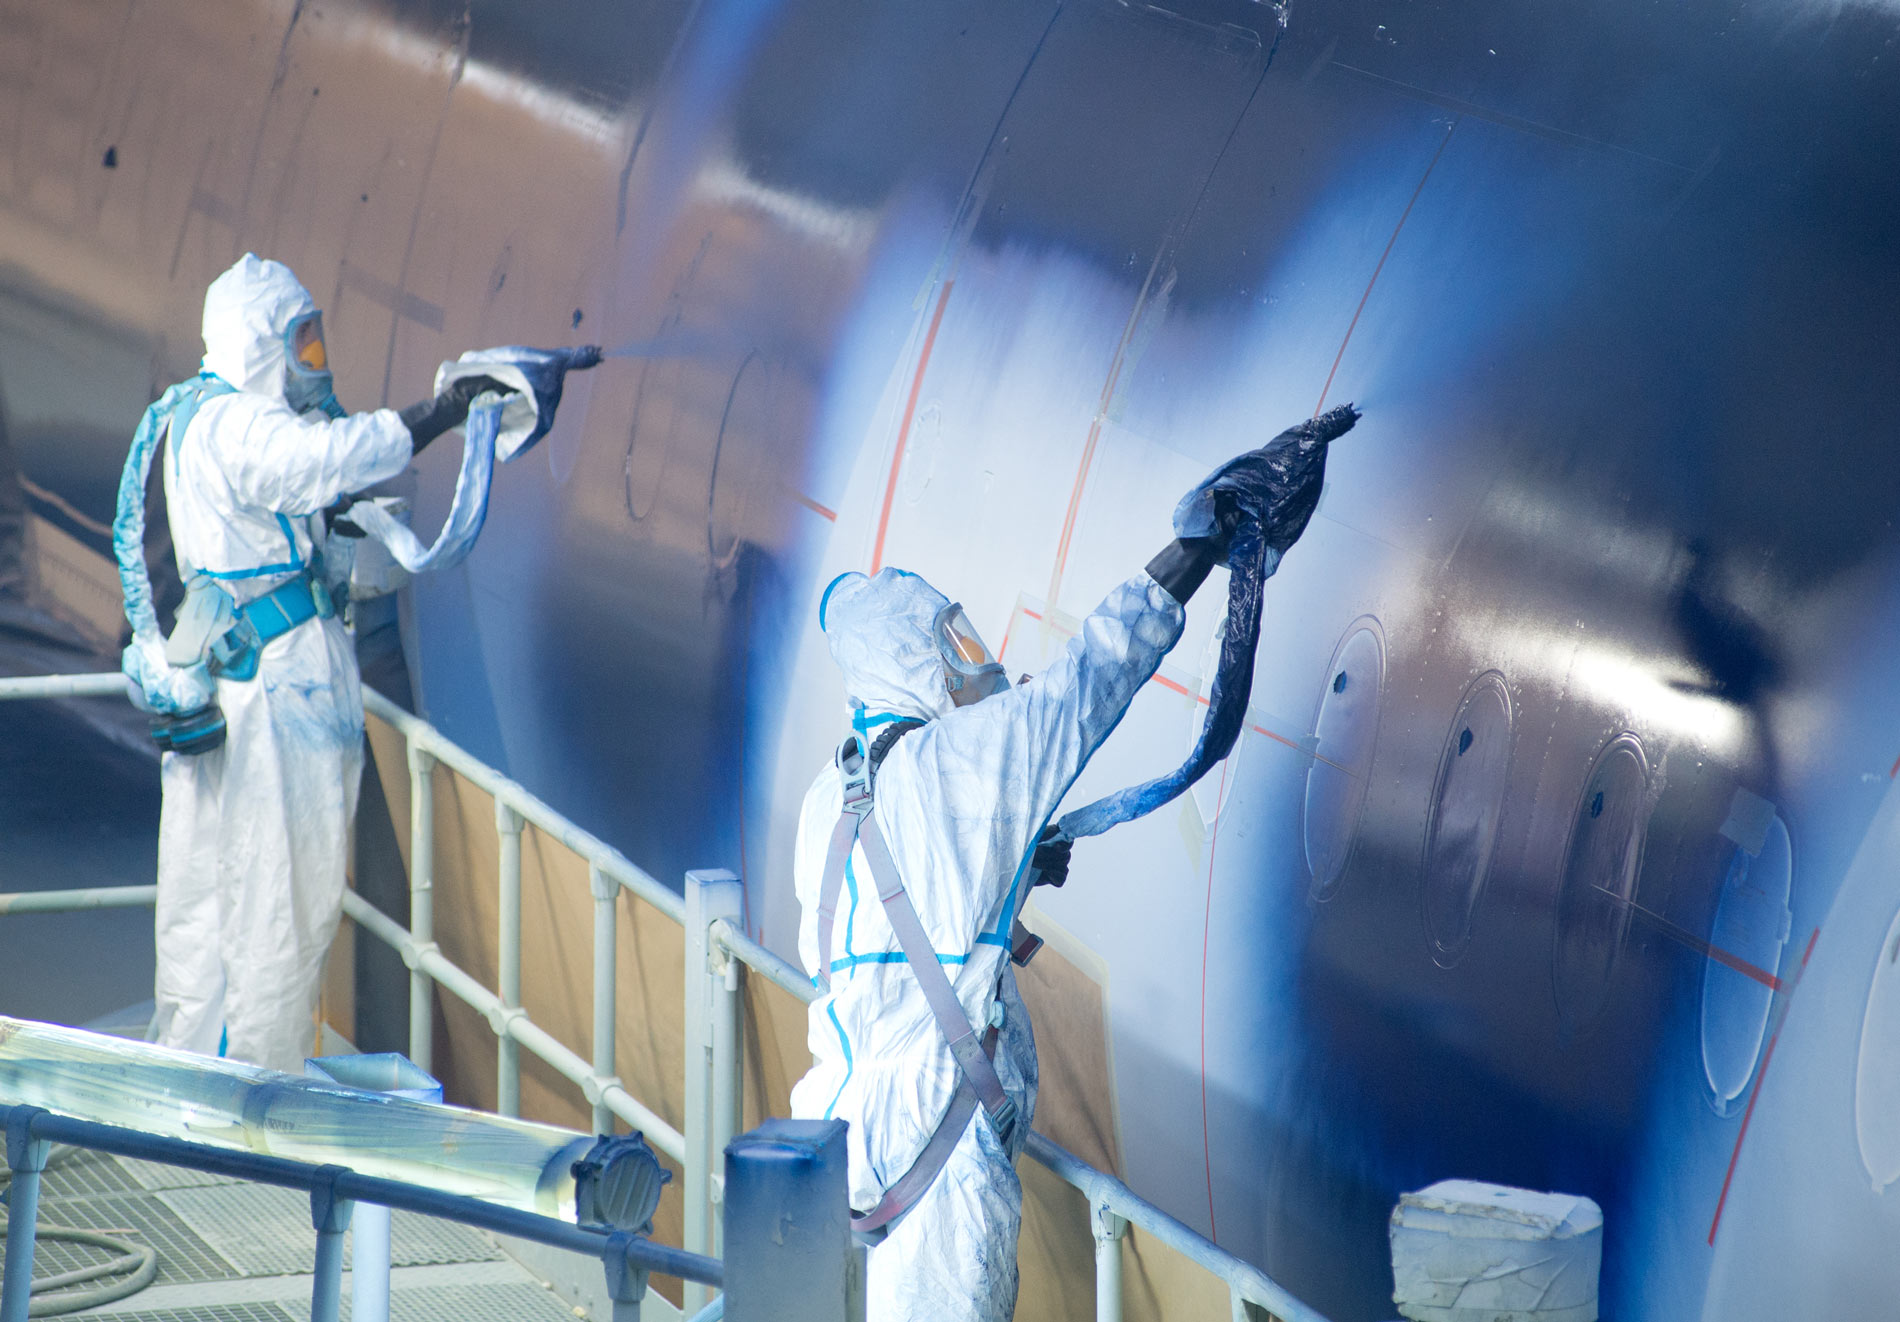
Now that you have prepared and selected the paint, let's delve into the actual application techniques. Ensuring even application is vital for a professional-grade result.
1. HVLP Spray Guns
Holding the spray gun at the correct distance and angle is crucial. A High Volume Low Pressure (HVLP) spray gun offers better material control and reduces overspray.
2. Stencil Patterns
If your aircraft has designs or logos, create stencils before applying paint. This will ensure precise lines and a professional appearance.
3. Environmental Considerations
Ensure the painting environment is controlled. Opt for a climate-controlled workspace to mitigate dust, humidity, and temperature fluctuations that could impact the final product.
Post-Painting Care
After the paint has dried, a few things should be done to maintain the quality of the finish:
1. Curing
Allow the paint to cure as per the manufacturer's guidelines. This could range from days to weeks, depending on the products used.
2. Inspection
Conduct a thorough inspection to identify potential flaws or imperfections. Ensure everything is up to standard before the aircraft is put back into service.
3. Cleaning and Maintenance
Establish a regular cleaning and maintenance schedule to preserve the integrity of the aircraft paint and protect it from environmental stresses.
Common Challenges in Aircraft Painting
1. Weather Conditions
Extreme conditions can hinder the painting process. Plan your painting projects during suitable weather conditions to avoid issues.
2. Surface Imperfections
If the aircraft surface has imperfections, such as blisters or peeling, this could affect adhesion and the final finish. Inspect thoroughly before starting the painting process.
3. Color Matching
Color matching can be quite challenging, especially when repainting sections of an aircraft. Utilize advanced color matching techniques to ensure a consistent look.

Frequently Asked Questions
1. How long does it take to paint an aircraft?
Painting an aircraft can take anywhere from a few days to several weeks, depending on the size of the aircraft and the complexity of the paint job.
2. What type of paint is best for an aircraft?
Both polyurethane and epoxy paints are highly regarded in the industry for their durability and lightweight properties.
3. Can I paint an aircraft myself?
While it is possible for an enthusiast to paint an aircraft, it requires significant expertise and adherence to safety regulations, so its typically best left to professionals.
With the right guidance and effort, the satisfaction that comes from completing a successful aircraft painting project is immense. Take the time to understand the intricacies of the process, stay informed with the latest advancements, and consider leveraging technology in your approach to achieve optimal results. For further insights into related topics, check out AI-driven Solutions, Painting Challenges, and Flawless Finishes Techniques.
