Terrific Tips on How to Hook Up a 4 Wire Tachometer?
Share
For tech enthusiasts and professionals, understanding how to hook up a 4 wire tachometer is a critical skill that greatly enhances automotive diagnostics and performance tuning. In this article, we'll delve into the world of tachometers, outlining everything you need to know about these remarkable instruments.
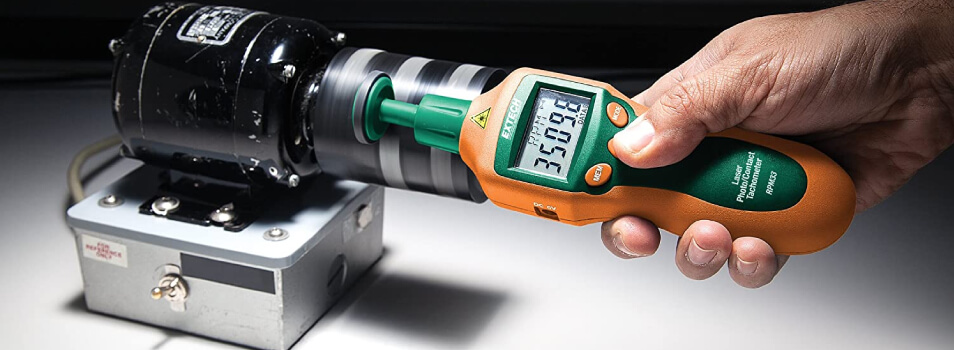
A tachometer is an indispensable tool that measures the rotational speed of an engine or a mechanical component. Generally, it provides insights into the engine's performance and helps in maintaining optimal operation. Knowing how to accurately hook up a 4 wire tachometer ensures that you can measure these speeds effectively, making it an unmissable skill for anyone serious about automotive technology.

Understanding the Basics of a Tachometer
Before we get into the specifics of hooking up a 4 wire tachometer, let's start by discussing what exactly a tachometer does. A tachometer is a device that measures the rate of rotation, typically in revolutions per minute (RPM). Tachometers are commonly used in vehicles, machinery, and other applications where speed monitoring is crucial.
The basic principle behind a tachometer is to convert mechanical motion into an electrical signal, which is then interpreted and displayed as RPMs. Understanding this concept will help you hook up your tachometer with more confidence and success.
Components of a 4 Wire Tachometer
A standard 4 wire tachometer typically consists of the following components:
- Positive Power Wire: This wire connects to the power source (usually the battery) to provide the necessary voltage.
- Ground Wire: The ground wire needs to be connected to the vehicle's chassis or another compatible ground.
- Signal Wire: The signal wire transmits the RPM signal from the engine to the tachometer.
- Light Wire: This wire connects to the vehicle's lighting system, illuminating the tachometer face when the headlights are on.
Step-by-Step Guide: How to Hook Up a 4 Wire Tachometer
Now that we understand the components of a 4 wire tachometer, it's time to walk through the steps needed to hook it up correctly.
Step 1: Gather Your Tools
Before you begin, it's essential to gather all the tools necessary for installation:
- Wire strippers
- Crimp connectors
- Electrical tape
- Multimeter
- Socket set
Step 2: Disconnect the Battery
Your safety is paramount. Always disconnect the vehicle's battery before working on the electrical system to avoid any shocks or short circuits.
Step 3: Identify the Wires
Identify the four wires from the tachometer. Each will typically be color-coded:
- Red for positive power
- Black for ground
- White or yellow for signal
- Green for light
Step 4: Connect the Wires
Now let's connect the wires:
- Connect the red wire to the ignition switch or battery positive terminal.
- Connect the black wire to a suitable ground on the chassis.
- Connect the signal wire (white/yellow) to the engine's ignition source or to the signal wire of your ignition coil.
- Connect the green wire to the vehicle's lighting system, ideally to a headlight or instrument backlight circuit.
Step 5: Test the Connections
Use your multimeter to ensure that all connections are secure and that you are receiving the correct voltage levels. This will help in troubleshooting any potential issues that may arise.
Step 6: Reconnect the Battery
Once everything is connected properly, reconnect the battery. Ensure that there are no loose wires or exposed connections that could cause a short.
Step 7: Power Up
Start the engine and monitor the tachometer for correct operation. If you see a reading, congratulations! You've successfully hooked up your 4 wire tachometer.
Common Issues and Troubleshooting
Even skilled tech professionals might run into issues while installing a tachometer. Here are some common problems and solutions:
- Tachometer Not Reading: Check the signal wire connections and ensure they are secured to the ignition system.
- Inaccurate Readings: Ensure the tachometer is calibrated correctly, as some tachometers may need specific settings based on the engine type.
- Backlight Not Working: Verify that the green wire is properly connected; if its still not working, it might be a fuse issue.
Utilizing a Tachometer Effectively
When your tachometer is installed successfully, it opens the door to so many possibilities. Monitoring RPMs helps in fine-tuning engine performance and efficiency. For a deeper understanding of how you can use a tachometer in various applications, you may want to check out this guide on utilizing tachometers.

FAQs About 4 Wire Tachometers
1. What is the function of a tachometer?
A tachometer measures the rotational speed of an engine or shaft, usually in RPMs, providing essential feedback on the engine's performance.
2. Why is a 4 wire tachometer preferred?
A 4 wire tachometer is often more accurate and provides additional functionality such as backlighting and more straightforward connections to the ignition system.
3. Can I use a 4 wire tachometer on any vehicle?
While most vehicles can accommodate a 4 wire tachometer, you should always consult the vehicle's manual or a professional to ensure compatibility.
In conclusion, knowing how to hook up a 4 wire tachometer is a remarkable skill that adds value to your automotive knowledge. With patience and practice, you will master the installation process and utilize the tachometer to enhance performance monitoring.
To learn further about tachometers from a scientific perspective, read this research article. Happy tuning!
