Unmissable Guide on How to Wire a Marine Tachometer?
Share
When it comes to boating, ensuring that your equipment is in top shape is crucial for safety and performance. One of the essential instruments on any marine vessel is the tachometer. This device plays a vital role in measuring the engine's revolutions per minute (RPM), providing you with essential data to operate your boat efficiently. In this unmissable guide, we will cover everything you need to know about wiring a marine tachometer, making it a life-changing skill for every tech professional and enthusiast.

What is a Marine Tachometer?
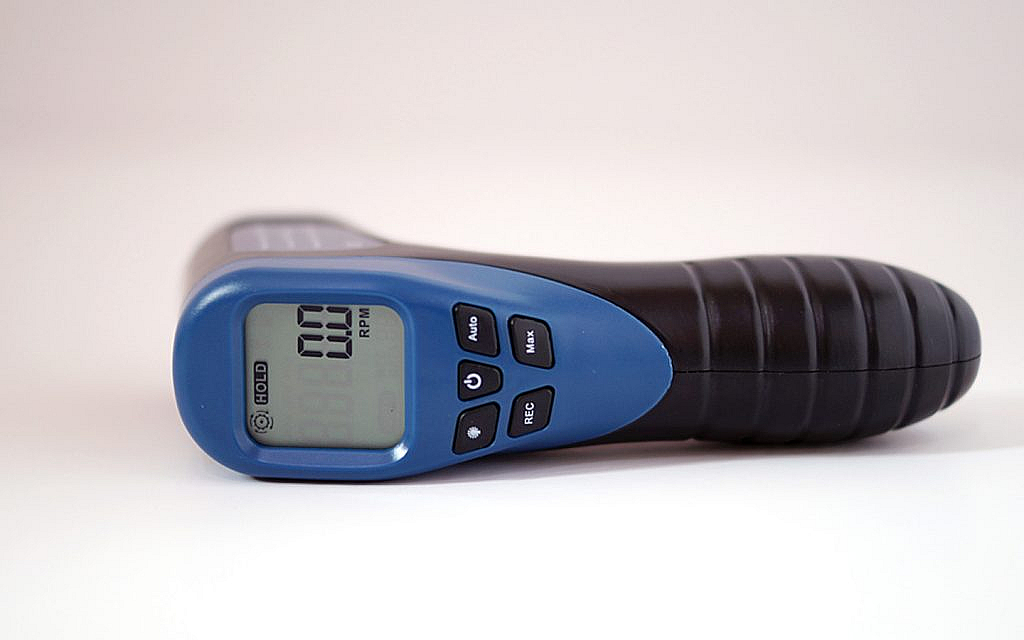
A marine tachometer is a measuring device that calculates the speed of your engine, presented in RPM. This essential piece of equipment helps boaters gauge performance, avoid engine overload, and enhance fuel efficiency. To fully understand how to wire a marine tachometer, it helps to first grasp the basic functionalities and types of tachometers.
Understanding the Basics
Before diving into the wiring process, it's crucial to understand the differences between mechanical and electrical tachometers. While mechanical models utilize a flexible shaft connected to the engine, electrical models employ sensors to calculate RPM. The latter is predominantly used in modern marine vessels due to its accuracy and lower maintenance needs.
Assessing Your Vessel's Requirements
Before beginning the wiring process, assess whether your boat already has a tachometer. If it does, determine the compatibility of your new tachometer with the existing wiring. Many tachometers require specific voltage, signaling methods, and gauge types. Understanding these requirements is vital for smooth installation.
Gather Your Tools and Equipment
To wire a marine tachometer effectively, you'll need some essential tools:
- Screwdrivers
- Wire strippers
- Multimeter
- Heat shrink tubing
- Marine-grade electrical connectors
- Wiring harness (if necessary)
How to Wire a Marine Tachometer
Now that you have everything ready, it's time to learn how to wire a marine tachometer. Follow these steps for a successful installation:
Step 1: Disconnect Battery Power
The first and foremost step is to ensure safety. Disconnect the negative battery cable to prevent any accidental shocks or short circuits during installation.
Step 2: Identify Wiring Points
Refer to the installation diagram provided with your tachometer. Identify the signal, power, and ground wires. You'll typically find:
- Signal wire (usually yellow)
- Power wire (usually red)
- Ground wire (usually black)
Step 3: Connect Power and Ground Wires
Connect the power wire of your tachometer to the ignition switch. This allows the tachometer to obtain power only when the engine is running. Next, connect the ground wire to the nearest grounding point on the boat's chassis, ensuring a solid electrical connection.
Step 4: Connect the Signal Wire
The signal wire is crucial for receiving engine RPM data. Connect it to the ignition coil or, in some cases, the engine's data bus. Refer to your tachometer's manual to confirm compatibility.
Step 5: Secure and Insulate Connections
Use heat shrink tubing or electrical tape to insulate all connections. This step is vital in preventing corrosion and ensuring long-term durability. Make sure that each connection is secure to avoid future issues.
Step 6: Reconnect the Battery
Once everything is wired and insulated correctly, reconnect the negative battery cable. Your tachometer should be powered now, and you can proceed to verify its functionality.
Testing the Tachometer
Start your engine and monitor the tachometer readings. It should reflect accurate RPM data. If it does not, double-check your connections according to the wiring guide. If you encounter any discrepancies, consult troubleshooting resources or contact a marine technician for assistance.
Understanding Common Issues
As with any electrical device, you may face several challenges. Common issues include:
- Inaccurate readings attributed to poor signals.
- Non-responsive gauges due to faulty connections or wiring.
- Electrical noise interfering with the tachometer's functionality.
Conclusion
Wiring a marine tachometer may seem daunting at first, but with the right tools and guidance, it becomes a straightforward process. Embracing this skill not only enhances your knowledge of marine equipment but also contributes significantly to safer, more efficient boating experiences.
Further Reading
For those interested in diving deeper into the topic of tachometers, check out this Wikipedia article that covers tachometers in greater detail. Additionally, if you're looking to troubleshoot an existing tachometer, consider reading causes for dysfunction or bench testing methods.

FAQ
What should I do if my tachometer is not working?
Start by checking for loose or faulty wiring connections or fuse issues. If problems persist, consider consulting a marine technician.
Can I install a tachometer on an older boat?
Yes! Ensure that you have the necessary connectors and adapters, as older boats may require special considerations during installation.
What is the difference between analog and digital tachometers?
Analog tachometers use a dial to display RPM, while digital tachometers provide a numerical readout. The choice between them often depends on personal preference and usability.
