How to Put Barcode on Product: A Step-by-Step Guide
Share
In today's competitive marketplace, knowing how to put barcode on product is essential for both small businesses and large corporations. Barcodes not only streamline inventory management but also enhance the customer experience when it comes to product recognition and checkout efficiency. This guide will delve into the various aspects involved in creating and applying barcodes effectively.
In this comprehensive article, we aim to provide a clear and concise approach to help tech professionals and enthusiasts understand the nuances of barcode applicationfrom creation to implementation.

Understanding Barcodes
Barcodes are unique alphanumeric sequences formatted in the form of parallel lines or blocks. They convey vital information about the item, whether its a product, a document, or a service. Common types include:
- UPC (Universal Product Code): Widely used in retail
- QR Codes: Can store more information, including URLs and contact info
- EAN (European Article Number): Popular internationally
Why Barcodes Matter in Todays Business?
Incorporating barcodes into your product labeling can lead to numerous advantages:
- Efficiency: Scanning is quicker and more accurate than manual entry
- Inventory Tracking: Monitors stock levels effectively
- Consumer Trust: Enhances brand image and credibility
Steps to Create a Barcode
The first step in how to put barcode on product is to create the barcode. Here's a detailed process:
1. Choose the Right Barcode Type
Based on your business needs, decide on the barcode type. For retail, UPC is typically preferred. For digital interaction, QR codes may be more suitable.
2. Select a Barcode Generator
Utilize online tools and software for generating barcodes. Platforms like this guide provide easy steps to create labels and barcodes quickly.
3. Input the Required Information
Enter the data that needs to be encoded, such as product information or pricing.
4. Save the Barcode
Once generated, export the barcode in a suitable format (JPEG, PNG, SVG) for printing.
Steps to Print and Apply Barcodes
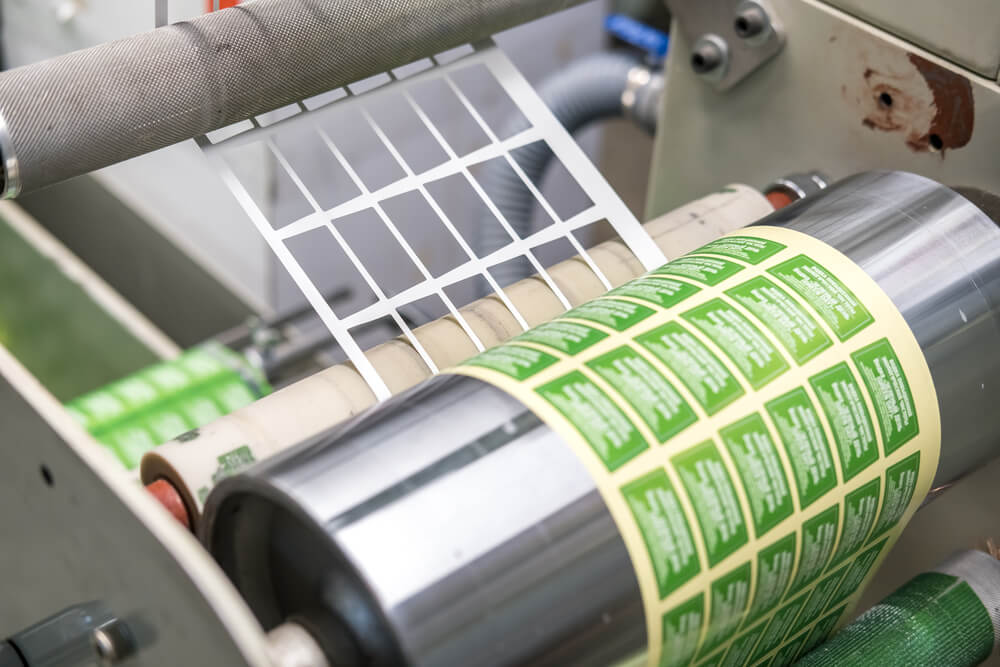
With the barcode ready, the next process involves printing and sticking it onto your product. Follow these steps:
1. Choose Quality Labels
Ensure that the labels you choose are compatible with your printer and can withstand the product lifecycle, including being subjected to temperature changes or moisture.
2. Use a Reliable Printer
For optimal results, consider a label printer that supports high-resolution output. You can check printing instructions here.
3. Print the Labels
Load your printer with the selected label sheets and execute the printing operation. Ensure to test print first to verify alignment.
4. Affix the Barcodes on Products
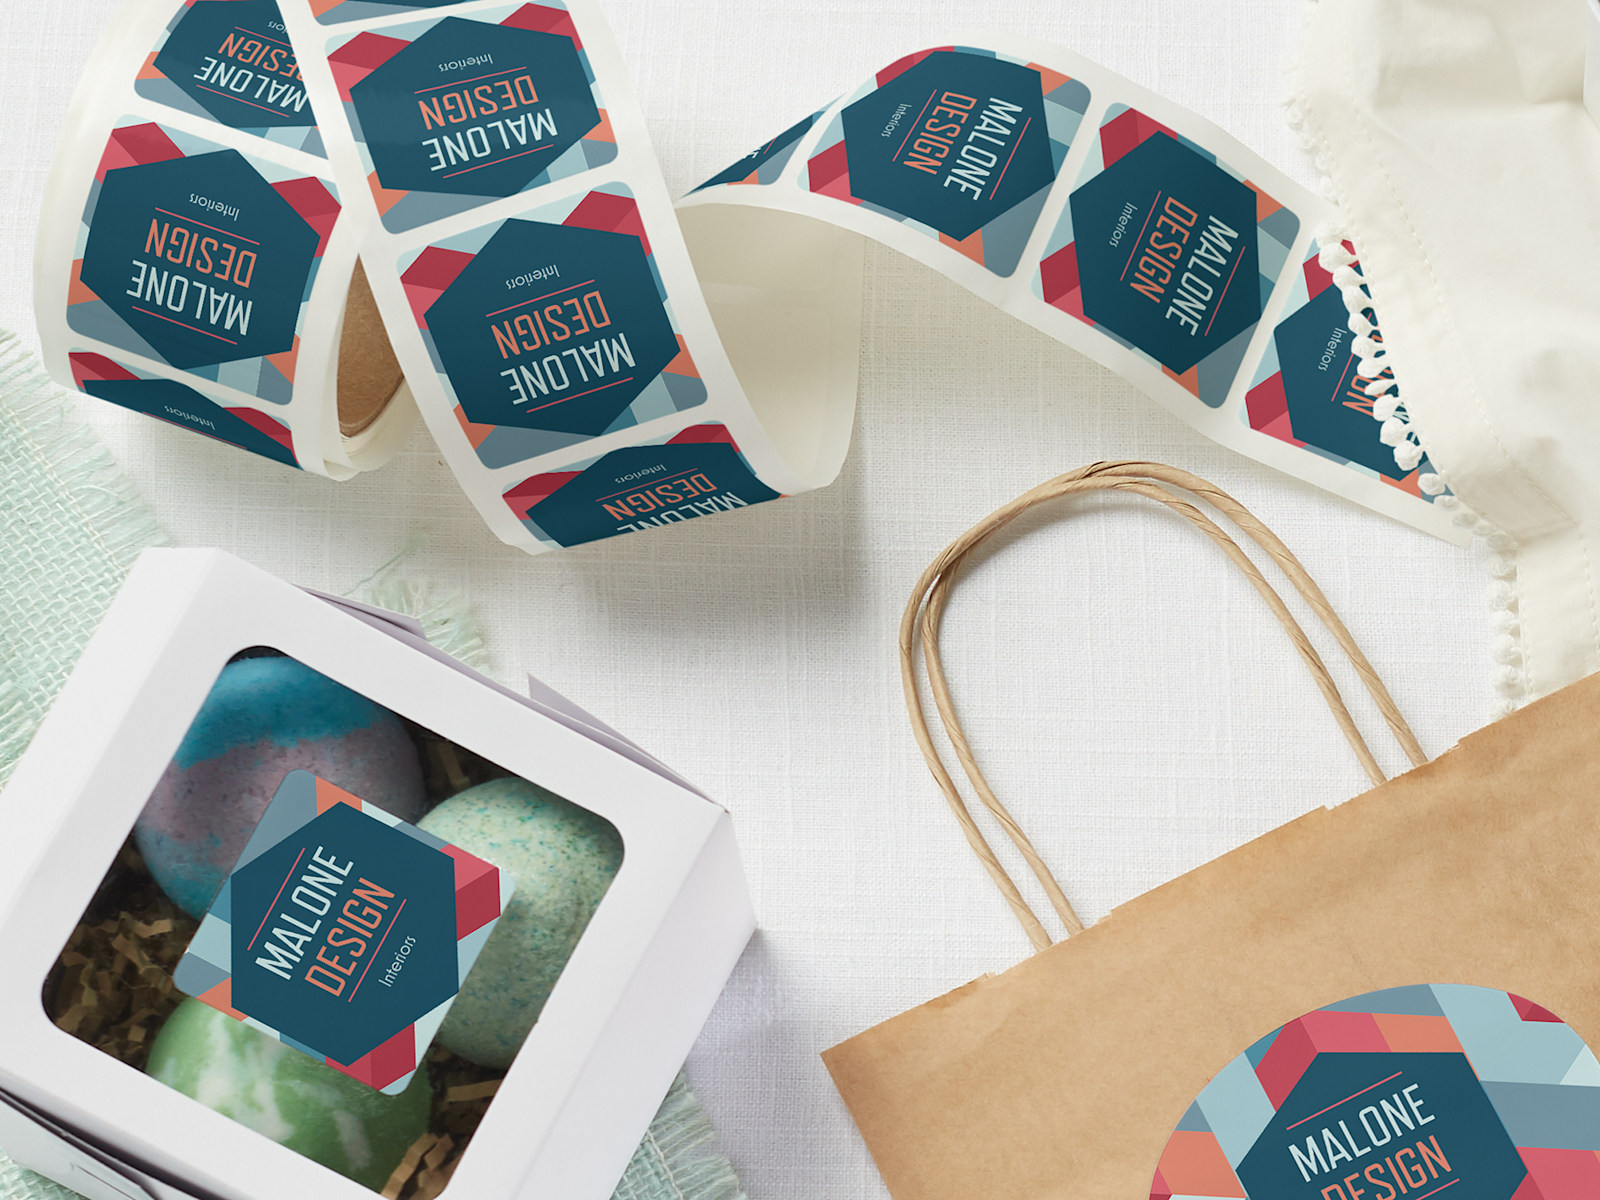
Carefully attach the printed labels on your products, ensuring that they are straightforward to scan without obstructions.
Testing Your Barcodes
After affixing the barcodes, it's crucial to validate their functionality through a scanner. Make sure each barcode scans correctly and reflects the information accurately.
Staying Compliant
Always be aware of industry regulations concerning barcoding, especially if youre entering international markets. Compliance can vary significantly between regions.
FAQs
1. What should I do if my barcode won't scan?
Make sure the barcode is clean, not damaged, and that your scanner is calibrated properly.
2. How much do barcodes cost?
Barcode costs can vary, but basic barcode generators often provide free options.
3. Can I use barcodes for non-retail products?
Absolutely! Barcodes can be used for any product requiring inventory tracking or identification.

Conclusion
Now you have a solid understanding of how to put barcode on product. By following these steps, you can effectively leverage barcodes for inventory management, customer service, and compliance. This knowledge is essential for anyone striving to excel in todays tech-driven marketplace. Plus, feel free to check out our other relevant posts like printing clear labels and labeling digital photos for additional insights.
As an Amazon Associate, I earn from qualifying purchases.
