

How to Replace Toilet Flush Valve: Remarkably Easy Tips
The journey of understanding how to replace toilet flush valve can initially feel overwhelming, especially to those engrossed in the world of technology. However, once approached with the right mindset and tools, the process is incredibly straightforward. Among tech professionals and enthusiasts, this task can be perfectly compared to troubleshooting a stubborn device intricate yet rewarding once completed.
Whether its to upgrade technology or simply repair a malfunction, every techie understands the importance of regular maintenance. Just like updating software, older toilet flush valves eventually need a replacement to ensure optimal performance. Replacing a toilet flush valve becomes not only an essential skill but a sign of tech-savviness.
Understanding the Toilets Inner Mechanics
Before embarking on this life-changing mission of toilet maintenance, its pivotal to comprehend its construction. A brief history of toilets points out innovations in basic plumbing systems that continue to drive modern conveniences.
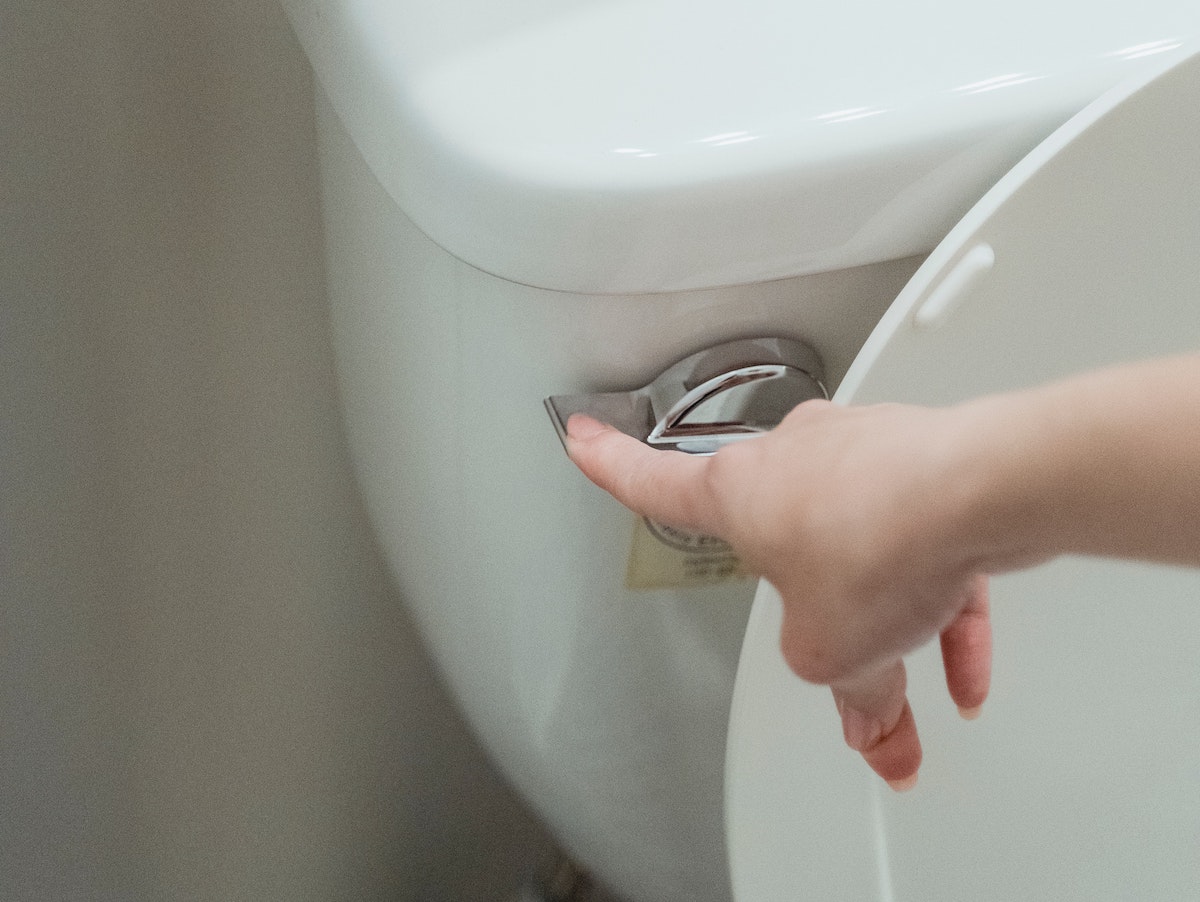
The flush valve sits within the tank, a critical component controlling water release during a flush. Typically, issues such as running toilets or weak flushes arise from valve-related troubles. Yet, the resolution merely requires a few technical reminders, much like debugging a code.
Step-by-Step Breakdown of Replacing a Flush Valve
Preparation: Tools and Safety Measures
Start with gathering tools: adjustable wrench, slip joint pliers, a sponge or towels, and a new flush valve. With any technical task, having the right tools is non-negotiable. Begin by turning off the toilets water supply to prevent unexpected leaks.
Understanding maintenance tips improves efficiency. Use a sponge to soak remaining water in the tank, ensuring a dry and safe workspace.
Disassembling the Tank
Remove the tank lid with care to observe the intricate network inside. Think of it as opening a device to resolve hardware issues; each component plays a vital role. Detach the refill tube and the flapper, then unscrew the bolts attaching the tank to the bowl.
Upward lift the tank and set it aside. This removal creates unobstructed access to the aged flush valve.
Installing the New Valve: Precision in Action
Remove the worn-out flush valve. Envision this as swapping a defective processor; precision is key. Fit the new valve securely, ensuring tightness and appropriate alignment. Reconnect the tank, fastening bolts meticulously to avoid leaks, much like sealing a circuit board.
Reattach internal components, reconnect water supply, and test the system. Troubleshoot any issues calmly. When well-executed, a successful flush is your reward, not unlike watching a well-built program run flawlessly.
Understanding the Fascination: Technology Meets Plumbing
Unmissable among tech professionals is the link between plumbing and emerging technologies like sensors for tank water levels or programmable flushes. Understanding the basics of plumbing unlocks avenues for innovations, potentially transforming how we interact with modern restrooms.
The remarkable technology and its advances invite tech enthusiasts to dual flush systems, indicative of eco-friendly shifts.

Maintenance and Future Thoughts
Once you've mastered how to replace toilet flush valve, maintaining the system becomes seamless. Regular checks and understandings of internal components, much like system updates or security checks in tech environments, can prolong toilet lifespan significantly.
Tremendous breakthroughs in plumbing remind tech individuals that innovation knows no bounds. As future technologies embed deeper into domestic utilities, those handy with basics remain integral in technological inclusion.
FAQs
Q: What tools are needed to replace a toilet flush valve?
A: Necessary tools include an adjustable wrench, slip joint pliers, a sponge, and a new flush valve.
Q: Why does the toilet valve need replacement?
A: Valves wear over time, leading to leaks or inefficient flushing. Replacements ensure water efficiency.
Q: How to handle post-installation troubleshooting?
A: Ensure all seals are tight and aligned. Adjust flush chain and reposition any misalignments.
For a broader understanding of bathroom repairs and designs, this resource on bathroom remodels can provide invaluable insights.